This post is all about real time analytic on large data sets. I am sure every one has heard about Apache Kafka (Distributed publish subscribe messaging broker) and Apache Storm (Distributed real time computation system.) and if you were disappointed not finding the appropriate (more than Hello World.) documentation and working example on the web on how to start using both the amazing products together and for the very the same reason I started reading this book from one of the Apache Storm Committer (Storm Blueprints: Patterns for Distributed Real-time Computation).
On Chapter 4 , I encountered an issue the source code was not available and the example author was trying to covey was very important to tie all these pieces together and how they work. I encountered several issues like the version of Kafka and Storm / Trident API and libraries were not compatible with each other and to resolve all those issues I went through several iterations and in the end got success and decided to share the same with everyone.
This sample application will do analysis on log statement and when certain threshold is reached it will notify by sending a notification via XMPP.
- Logging data to Apache Kafka and streaming it to Storm.
- Streaming an existing application’s log data to Storm for analysis.
- Implementing an exponentially weighted moving average Trident function.
- Using the XMPP protocol with Storm to send alerts and notifications
Trident API is to Storm what Cascading/Scalding is to Hadoop Map Reduce.High level abstraction for real time processing.You think in term of filters , counting and group by and so on instead of Spouts, Bolt, Stream, Map and Reduce.
As everyone by this time must know that Docker is my favorite provisioning tool.I provisioned Zookeeper , Kafka , Storm and Open-fire XMPP cluster with one fig.yml which does all the job.If you haven’t heard of fig.It is a docker orchestration and provisioning tool which helps you manage docker containers like no other tool.
Here are instruction to install fig.It is implemented in Python so you might need to install python libraries and run-time environment first.
zookeeper:
  image: jplock/zookeeper
  ports:
    - "2181:2181"
nimbus:
  image: wurstmeister/storm-nimbus:0.9.2
  ports:
    - "3773:3773"
    - "3772:3772"
    - "6627:6627"
  links:
    - zookeeper:zk
supervisor:
  image: wurstmeister/storm-supervisor:0.9.2
  ports:
    - "8000:8000"
  links:
    - nimbus:nimbus
    - zookeeper:zk
ui:
  image: wurstmeister/storm-ui:0.9.2
  ports:
    - "8080:8080"
  links:
    - nimbus:nimbus
    - zookeeper:zk
kafka1:
  image: wurstmeister/kafka:0.8.1
  ports:
    - "9092:9092"
  links:
    - zookeeper:zk
  environment:
    BROKER_ID: 1
    HOST_IP: 192.168.59.103
    PORT: 9092
kafka2:
  image: wurstmeister/kafka:0.8.1
  ports:
    - "9093:9093"
  links:
    - zookeeper:zk
  environment:
    BROKER_ID: 2
    HOST_IP: 192.168.59.103
    PORT: 9093
openfire:
  image: mdouglas/openfire
  ports:
  - "5222:5222"
  - "5223:5223"
  - "9091:9091"
  - "9090:9090"
I am running docker on Mac OS via boot2docker utility and therefore you see the IP address (192.168.59.103) of the Virtual BOX VM where docker is actually creating and spawning containers.It was very easy to create the cluster because if you will notice all the images were already available on docker registry the only thing I had to do was to link them together via fig utility.
From the directory where fig.yml is located issues the command below to start and stop the containers.
fig start
fig stop
Make sure you have Apache Storm installed locally and path is set.On my machine it looks like this.
export STORM_HOME=/Users/ahenrick/storm
export PATH=$PATH:$STORM_HOME/bin
Update IP address of nimbus host to point to docker IP where your nimbus host is running in storm.yaml.
vi ~/.storm/storm.yaml
## Update the nimbus host property like below.
nimbus.host: "192.168.59.103"
Important steps must be followed diligently.
1. Download source code from github , compile and start storm cluster.
git clone git@github.com:alvinhenrick/log-kafka-storm.git
cd log-kafka-storm
mvn clean install
fig up
2. Open browser and go to these URL’s to confirm the Cluster is running.
Supervisor Log ==> http://192.168.59.103:8000/log?file=supervisor.log
Storm UI ==> http://192.168.59.103:8080/index.html
Openfire XMPP ==> http://192.168.59.103:9090/
3. Create Kafka Topic.The topic name is log-analysis.
#Open the new terminal and change directory to log-kafka-storm project.
./start-kafka-shell.sh
# At the prompt enter this command to create topic.
$KAFKA_HOME/bin/kafka-topics.sh --create --topic log-analysis --partitions 2 --zookeeper $ZK_PORT_2181_TCP_ADDR --replication-factor 1
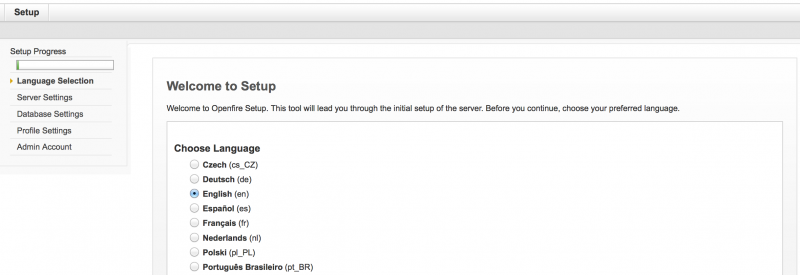
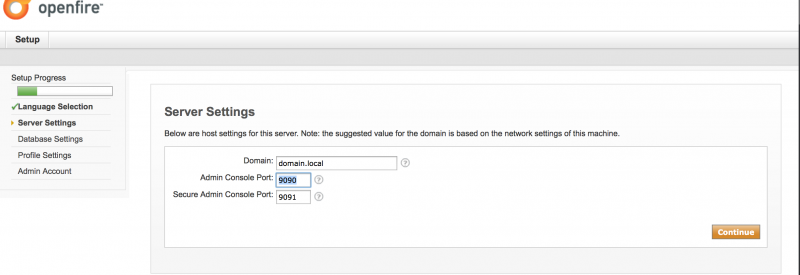
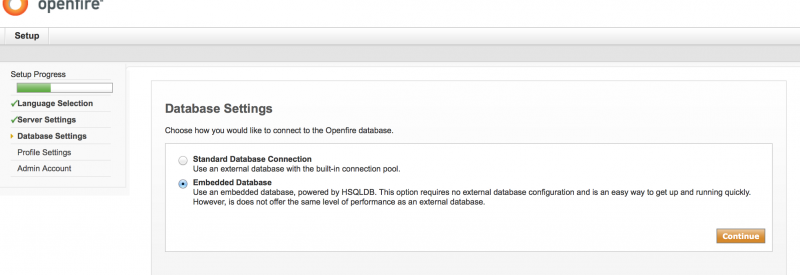
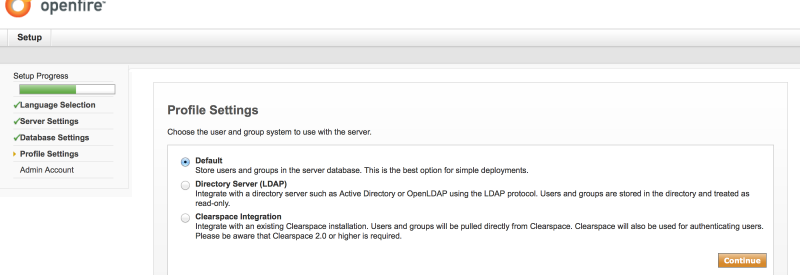
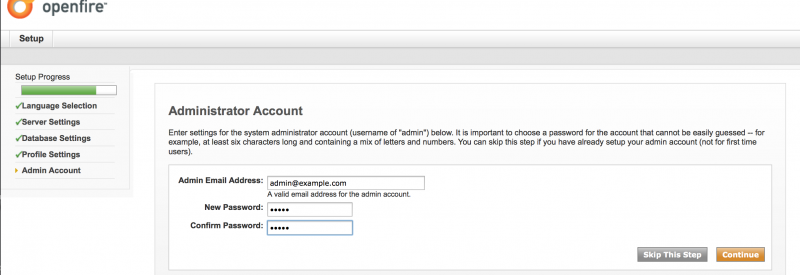
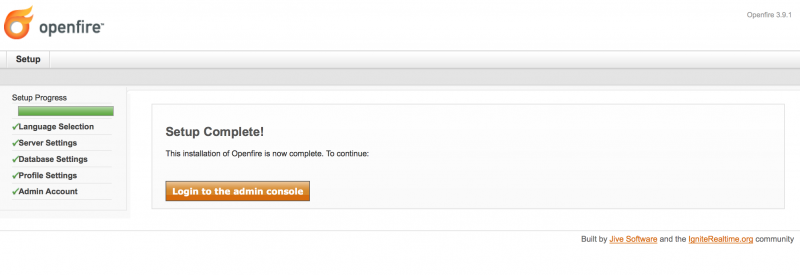
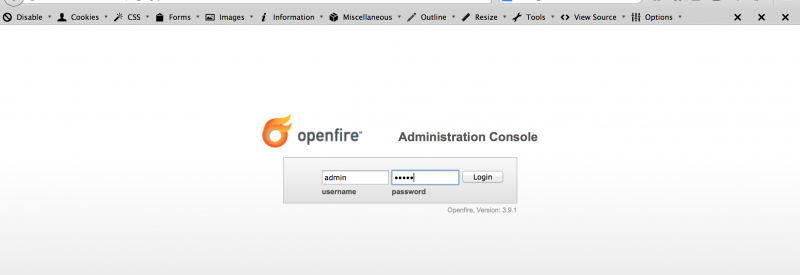
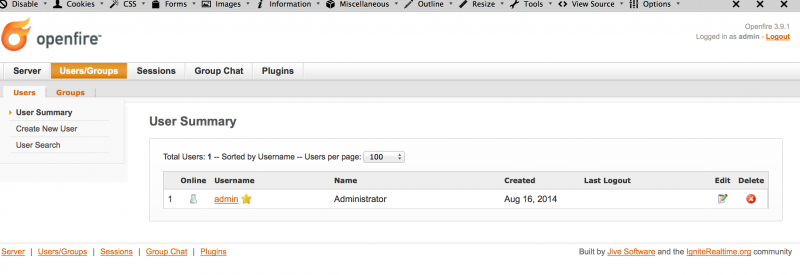
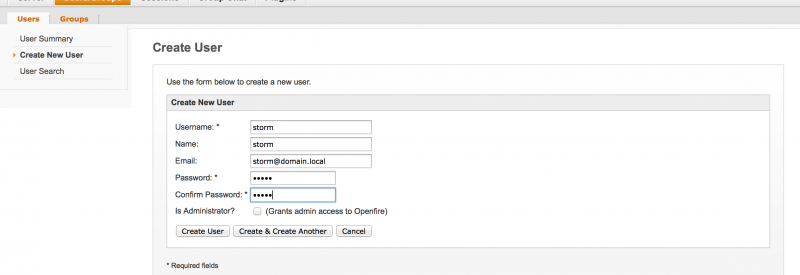
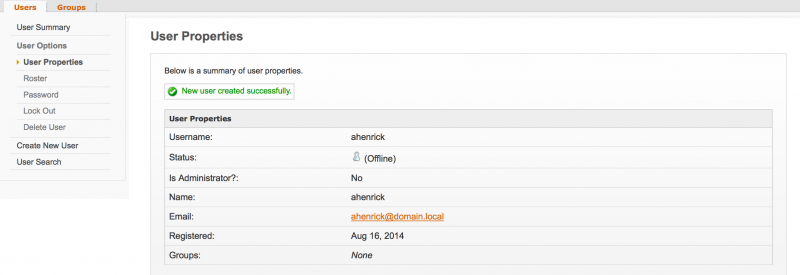
4. Setup Openfire XMPP Server and create users.Below is the slide show which guides through the process of setting up the server.The http URL is provided above to access XMPP server.
- Create user admin set password as admin.
- Create user storm set password as storm.
- Create user ahenrick set password as ahenrick.
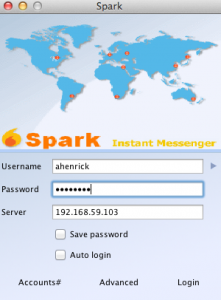
The application uses storm user to send notification to ahenrick.Download and install Openfire Spark IM Client.
Login with hostname 192.168.59.103 username ahenrick and password ahenrick.See screenshot below
5.Deploy the Topology to Cluster.
#Open the new terminal and change directory to log-kafka-storm project.
storm jar ./target/log-kafka-storm-1.0-SNAPSHOT-jar-with-dependencies.jar com.log.kafka.storm.topology.LogAnalysisTopology 192.168.59.103 log-analysis-topology
6.Download source code , build and run application to publish log messages to Kafka broker via logback Kafka Appender implementation.
git clone git@github.com:alvinhenrick/kafka-log-appender.git
mvn clean install
#Open the project in your favorite editor.
Run the main class com.log.kafka.RogueApplication
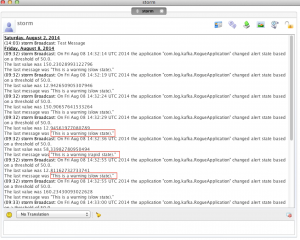
7.Verify the notification received in Openfire Spark IM.See screenshot below.
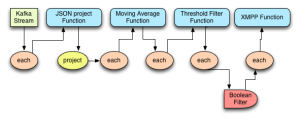
The topology deployed is performing following task :
- Receive and parse the raw JSON log event data via Kafka Spout.
- Extract and emit necessary fields via Trident API functions.
- Update an exponentially-weighted moving average function.
- Determine if the moving average has crossed a specified threshold.
- Filter out events that do not represent a state change (for example, rate moved above/below threshold).
- Send an instant message (XMPP) notification.
Here is the diagram for the topology implemented.
NOTE : If you are not running Docker on Mac OS via boot2docker and directly working on Linux machine please change the IP address to point localhost where ever you see 192.168.59.103.
Enjoy Reading!!!
